7 Tips for Plastic Dip Coating Cars
Plastic dip coating for cars has moved from a weekend experiment into a practical option for temporary color changes, wheel protection, and surface customization. Grand View Research reports that the global automotive paints and coatings market continues to expand, driven by vehicle ownership, refinishing demand, and improved coating technology. However, plastic dip remains a specialized finish, not a universal replacement for factory paint.
DipYourCar founder Fonzie explains, “The finish is only as good as the preparation underneath it.” That advice matters beside a real garage door, where dust, silicone residue, and damp panels can ruin an otherwise careful application. Experienced installers typically wash, degrease, dry, and mask the vehicle before spraying several controlled coats. Thin edges often fail first. Door handles and sharp body lines deserve extra attention.
Industry guidance from the Society of Automotive Engineers emphasizes surface preparation, coating adhesion, and environmental control during refinishing work. Meanwhile, the U.S. Environmental Protection Agency highlights the importance of managing volatile organic compound emissions from automotive coating operations. Product labels and local requirements still matter.
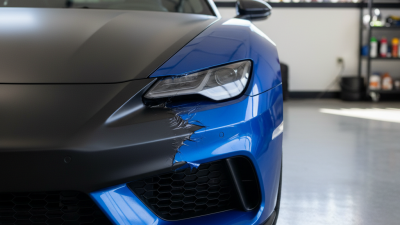
A useful warning remains. Plastic dip can peel unevenly, stain neglected surfaces, or expose flaws hidden under the original finish. It is removable, but removal is not always effortless. A small test panel can reveal more than optimistic online videos.
This guide examines seven practical tips for plastic dip coating for cars, including preparation, spraying distance, curing time, maintenance, and safe removal. The goal is not a perfect showroom promise. It is a cleaner process, better decisions, and fewer expensive surprises.
Choosing the Right Plastic Dip Coating and Tools
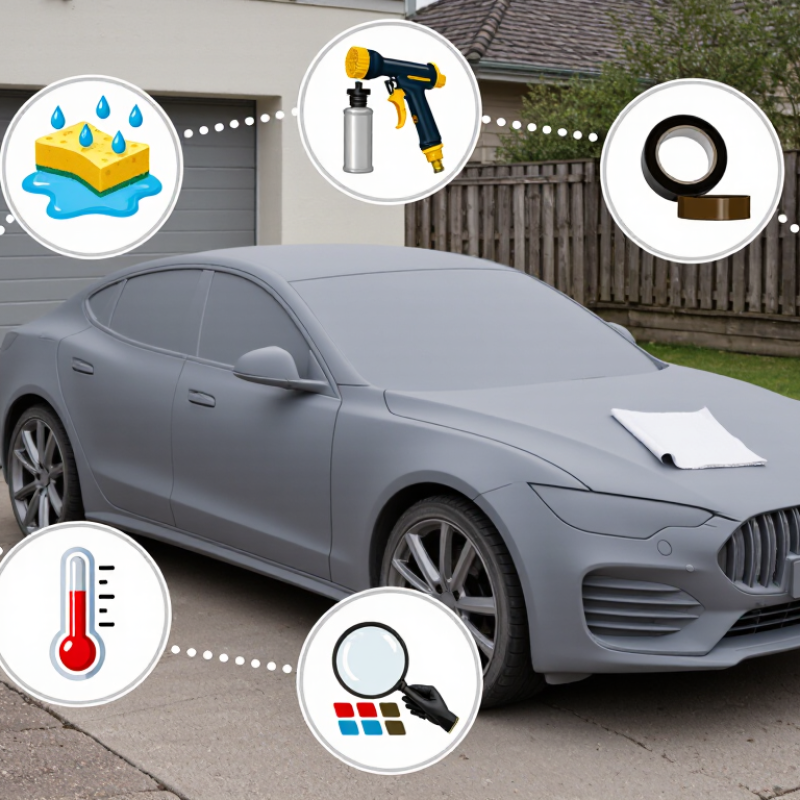
Choosing the right plastic dip coating begins with the car’s surface, not the color chart. Select a formula designed for automotive panels, wheels, or trim, depending on your project. These areas face different heat, moisture, and road debris. Read the technical sheet carefully. Check drying time, recommended temperature, coverage, and surface compatibility. A coating that works on a mirror may perform poorly on textured plastic.
Tools matter just as much. Use a clean spray system with adjustable pressure, suitable nozzles, and a reliable filter. A disposable mixing cup, accurate measuring scale, lint-free cloths, masking film, and nitrile gloves can prevent avoidable defects. Keep a wet-film gauge nearby. It helps you judge thickness instead of guessing. Thin layers usually reduce runs, while several consistent coats improve removal later.
Test first. Always.
I once rushed a wheel project and ignored a small amount of silicone residue. The finish looked smooth for one day, then lifted around the edges. That mistake changed my preparation routine. Wash the panel, remove wax and grease, and let it dry fully. Spray a hidden test area before coating the entire vehicle. Observe adhesion, color, and texture after curing. I still find imperfect results useful, because they reveal problems that instructions cannot predict. Work in a ventilated, dust-controlled space, and follow the coating’s safety guidance precisely.
Preparing the Car Surface for a Smooth, Durable Finish
A durable plastic dip coating begins with a properly prepared surface. Wash the car with a grease-cutting cleaner, then rinse thoroughly with clean water. Road film can hide beneath door handles, mirrors, and trim edges. I use a soft brush for these tight areas. Dry the panels completely. Even small water pockets can weaken the coating later.
Inspect the paint under bright, angled light. Remove wax, polish, silicone residue, and tar before coating. A suitable surface cleaner helps, but test it on an unseen area first. Lightly sand glossy repairs until the surface feels evenly dull. Do not chase every tiny scratch. Deep damage should be repaired and cured before spraying. I have rushed this step before. The finish looked acceptable at first, then lifted around an old chip.
Temperature and cleanliness also affect adhesion. Work in a dry, well-ventilated space with limited dust movement. Avoid applying coating to hot panels or cold metal. Mask glass, tires, lights, locks, and areas that must remain untouched. Press masking edges firmly, especially around wheel arches. Wipe each panel with a lint-free cloth immediately before spraying. Check for loose fibers and fingerprints. A small test patch can reveal contamination, poor adhesion, or an unsuitable surface. It is better to find that problem early.
Applying Thin, Even Coats to Prevent Runs and Uneven Texture
Plastic dip coating looks simple, but thin, even layers require patience and surface control. Clean the car thoroughly, then remove wax, oil, and silicone residue with a suitable degreaser. Dry panel gaps with compressed air or a soft towel. I once skipped a mirror seam. That small mistake trapped moisture and caused rough edges. Inspect under bright, angled light before spraying. The surface should feel smooth, dry, and free from loose dust.
Hold the spray gun or can about 15 to 20 centimeters from the panel. Keep your wrist straight and move across the surface before releasing the trigger. Each pass should overlap the previous pass by roughly half its width. Start with a light tack coat, not a wet finish. Let it flash according to the product instructions. Thin layers reduce sagging and help the coating develop a consistent texture. Watch corners closely. They collect excess material. Use steady passes. Avoid correcting a wet spot immediately. That usually creates a thicker patch.
Apply several light coats rather than one heavy coat. Check the finish from different angles after each pass. A cloudy area may need another fine coat, while a glossy run needs drying time before correction. Temperature, airflow, and humidity can change drying behavior, so record the conditions during application. Wear suitable respiratory and skin protection, and work in a clean, well-ventilated area. Practice on a spare panel if possible. Even experienced applicators sometimes rush the final coat. That is where uneven texture often begins.
Handling Edges, Details, and Hard-to-Reach Areas
Plastic dip coating a car looks simple until the spray reaches an edge. I have learned that most failures begin with poor access, not bad material. Clean the panel thoroughly, then dry every seam, grille opening, and mirror joint. Water trapped in a gap can cause bubbling later.
Masking needs patience.
Leave a clean, even boundary around lights, handles, badges, and rubber seals. Spray edges with light passes instead of trying to cover them in one coat. Keep the nozzle moving across the surface. For wheel arches and door gaps, change your body position often. A small inspection light helps reveal thin spots that normal daylight misses. Thin coats work better.
Hard-to-reach areas demand controlled overspray.
Spray inside door jambs from several angles, but avoid flooding hinges and drainage channels. Use short bursts around vents and trim recesses. I usually allow each layer to become tacky before adding another. Exact timing changes with temperature and airflow, so the product instructions remain important. Do not rush it.
Corners are unforgiving.
Pulling the coating too sharply during removal can lift the fresh edge. I prefer removing masking while the final layer is flexible, using a slow, steady motion. Still, my first attempt at a deep grille was uneven. I missed one narrow section behind the slats. That mistake taught me to inspect from above, below, and directly sideways before the coating cures.